
How to Add Sources in OBS?
OBS without sources is basically a blank canvas—nothing to show, nothing to stream.
Sources are what bring your scenes to life, whether that’s a camera feed, a screen share, a video file, or an NDI input over the network.
In this guide, you’ll learn how to add and use different OBS sources, including video and NDI sources, so you can build scenes that actually make sense to your audience.
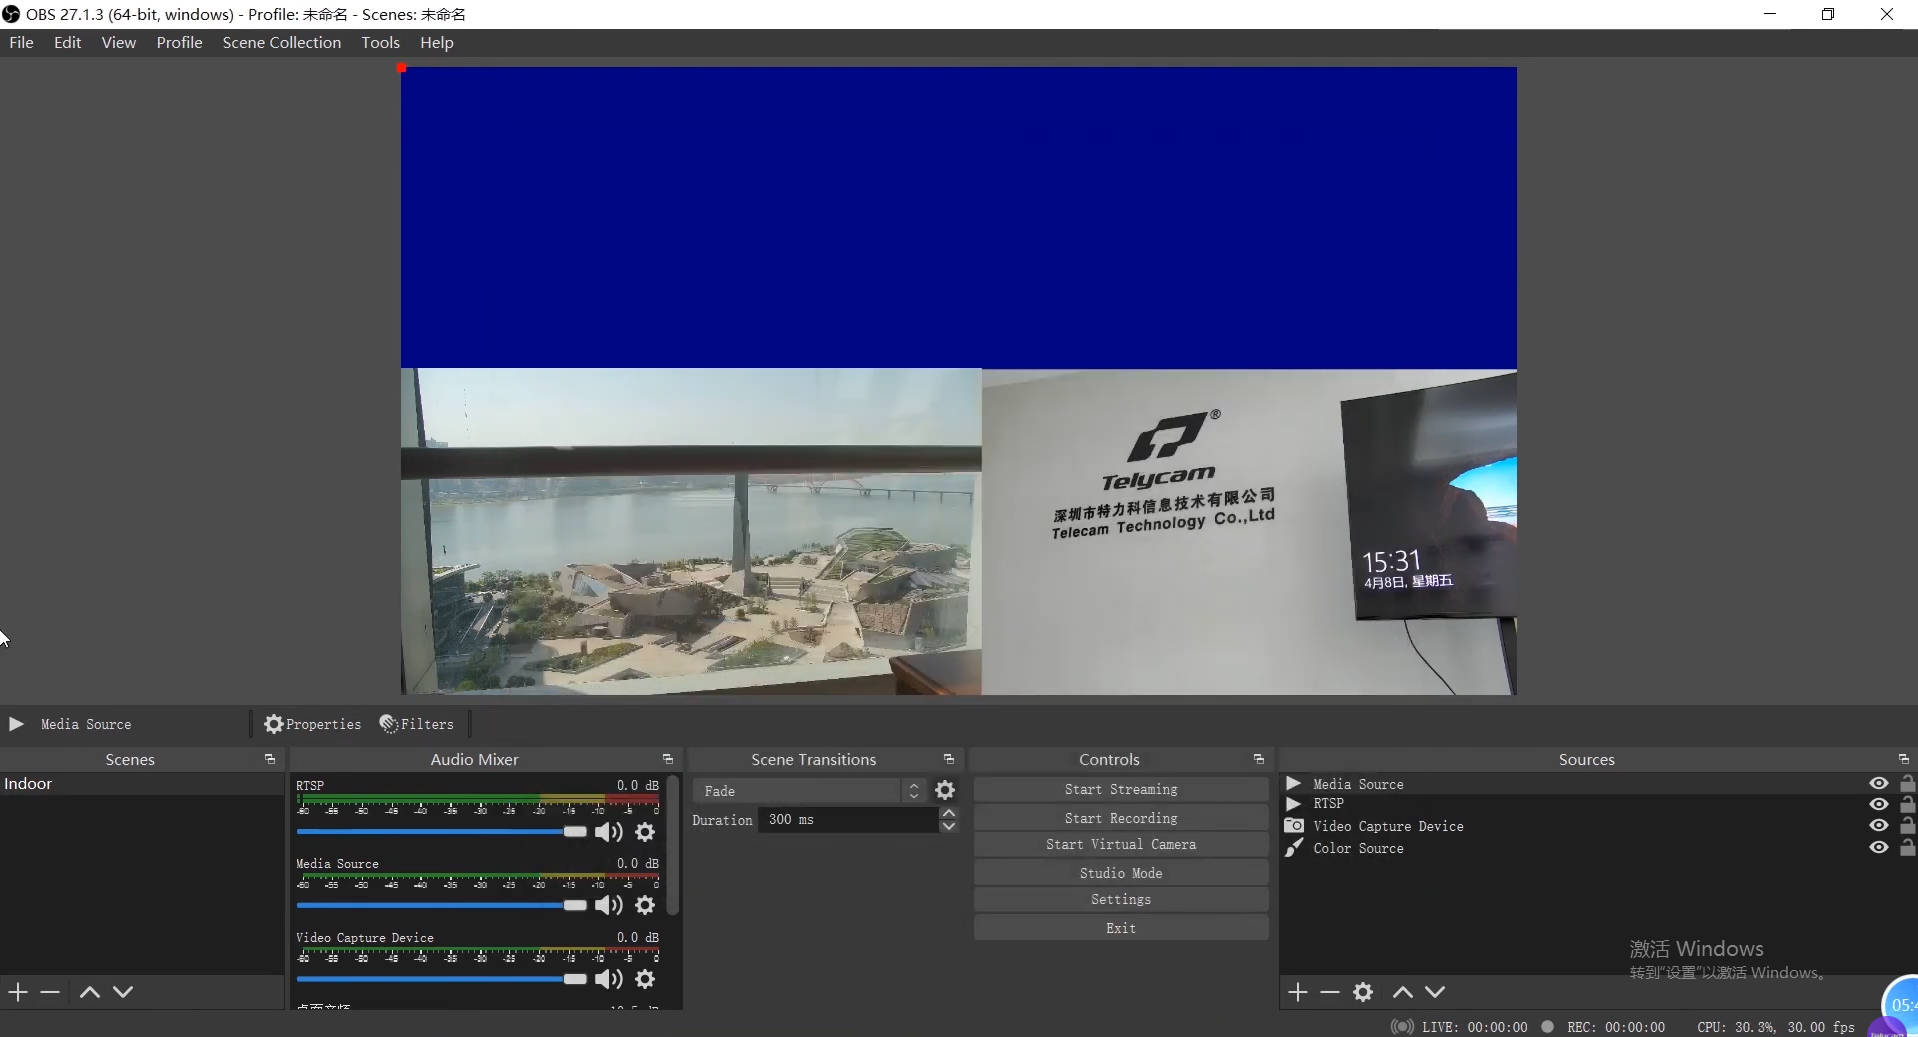
Table of Contents
What Are Sources in OBS?
Sources are the building blocks of an OBS scene. Each source adds a specific type of content—such as video, audio, images, or screen capture—to your stream or recording.
- Display Capture – captures your entire screen
- Window Capture – captures a specific application
- Game Capture – captures supported games
- Video Capture Device – webcams, capture cards, PTZ cameras
- Image Source – logos, graphics, static visuals
- Media Source – video and audio files
- Browser Source – web-based overlays and alerts
- Color Source – solid backgrounds or color blocks
- NDI Source – NDI-enabled cameras and network video
How to Add Sources in OBS?
Adding sources is how scenes come to life in OBS. Here’s how to add a source and start building your scene.
To remove a source, select it in the Sources dock, then click the “–” button below.
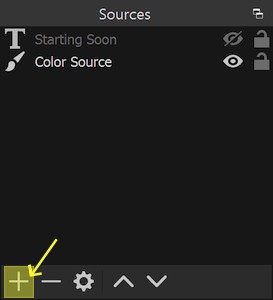
Step 1: Go to the Sources dock and click on the “+” button at the bottom.
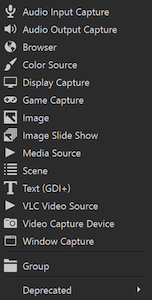
Step 2: Choose the source type you want to add
Adding NDI Sources to OBS
NDI (Network Device Interface) is an IP-based video protocol that allows video and audio to be transmitted over a local network. With the OBS NDI plugin installed, you can add NDI video sources such as NDI-enabled PTZ cameras directly into OBS without using capture cards.
To add an NDI source, open the Sources dock, click the “+” button, and select NDI Source. You can then name the source and choose from available NDI devices detected on your network. The plugin also lets you select different bandwidth modes or connect audio-only sources, depending on your setup.
This approach is commonly used in multi-camera or network-based workflows. For example, multiple NDI PTZ cameras can be added to OBS and managed as individual sources, making it easier to build flexible layouts and switch between views.
Outputting OBS to NDI
OBS can also send its output to the network using NDI. To enable this, open the Tools menu and select NDI Output Settings. From there, you can choose to output the Program view, the Preview view, or both.
Once enabled and named, these NDI outputs become available to other NDI-compatible software or devices on the same network, allowing OBS to function as part of a larger IP-based production workflow.
Choosing the Right OBS Source for Your Stream
Picking the right source in OBS can make your stream look more professional and organized. Here’s a quick guide on when to use each type:
- Browser Source – Perfect for adding web-based elements like chat overlays, subscription alerts, or custom graphics. Works with URLs or local files, ideal for interactive streams.
- Display Capture – Need to show your entire screen? Great for tutorials, software demos, or step-by-step guides.
- Image Source – Add logos, static overlays, or GIFs. Supports common formats like .png, .jpg, and .gif. You can unload images not in use to save memory.
- Color Source – Add background colors or transparent overlays. You can adjust size, color, and opacity—handy for consistent scene design.
- Game Capture – Stream a game? This source efficiently captures most DirectX and OpenGL games without slowing down your system.
- Media Source – Bring in pre-recorded videos or audio clips, like intros, B-rolls, or background music. Supports almost all common formats.
- Other Sources – Text, window capture, video capture devices, slideshows, VLC sources, and audio input/output—mix and match to enrich your content.
Choosing the right OBS source is like building a strong foundation for your scenes. Place the right elements in the right spots, and your stream will look organized, professional, and more engaging. Experiment with combinations to find what works best for your style.
Conclusion
Scenes and sources are the building blocks of any great stream. By following the steps in this guide, you can confidently add and manage sources in OBS to make your broadcasts more organized, engaging, and professional.
Whether you’re a streamer, gamer, or content creator, the right setup can make your live production smoother and more enjoyable—for both you and your audience. Pairing OBS with a reliable PTZ camera, like those from Telycam, ensures crisp visuals and seamless control, helping your streams look their best every time.

Contact Telycam
Sales Inquiries
sales@telycam.com
Call Us
+86-755-33275155