
ND Filters for
PTZ Cameras
The Complete Guide to Exposure Control
in Broadcast and Live Production
Light is the raw material of professional video— but light rarely cooperates.
While adjusting ISO, shutter speed, or aperture can help, these settings often come with trade-offs—compromising motion quality or increasing image noise. For PTZ camera users working in outdoor or dynamic lighting conditions, maintaining proper exposure can quickly become a challenge.
This is where an ND filter for PTZ camera setups becomes essential. By controlling the amount of light entering the lens, ND filters help you achieve consistent exposure, preserve natural motion, and capture professional-quality video. In this guide, we’ll explore how ND filters work and how they can help you achieve better exposure and more consistent video results.
What Is an ND Filter and
Why PTZ Cameras Need It?
Think of an ND filter as a pair of sunglasses for your camera lens — but with one key difference: instead of altering colors, it reduces the amount of light entering the lens evenly across the entire image. The result is a darker exposure without color shift or loss of accuracy.
The “neutral” in neutral density simply means that no specific wavelengths are affected. Light is reduced uniformly, allowing the camera to maintain true-to-life colors while controlling brightness.
An ND filter works by reducing light before it reaches the sensor, making it easier to maintain stable exposure without constantly adjusting camera settings. This is especially useful in situations where lighting conditions are too bright or constantly changing.
For PTZ cameras, this becomes even more important. These cameras are often fixed in position and operate in environments where lighting can shift throughout the day—such as venues with large windows, outdoor event setups, or hybrid indoor-outdoor spaces. Without proper light control, maintaining consistent image quality can be difficult.
Using an ND filter for PTZ camera setups helps stabilize exposure and ensures more consistent, professional-looking video output, even in challenging lighting conditions.
Types of ND Filters for PTZ Cameras
ND filters for PTZ cameras fall into two categories based on where they sit: External (attached to the outside of the lens) or Built-in (integrated inside the camera). But before choosing a filter type, it helps to understand density levels — because the right type and the right strength are two separate decisions.
Understanding ND Stops: A Practical Reference
ND strength is measured in stops, with each stop halving the amount of light transmitted:
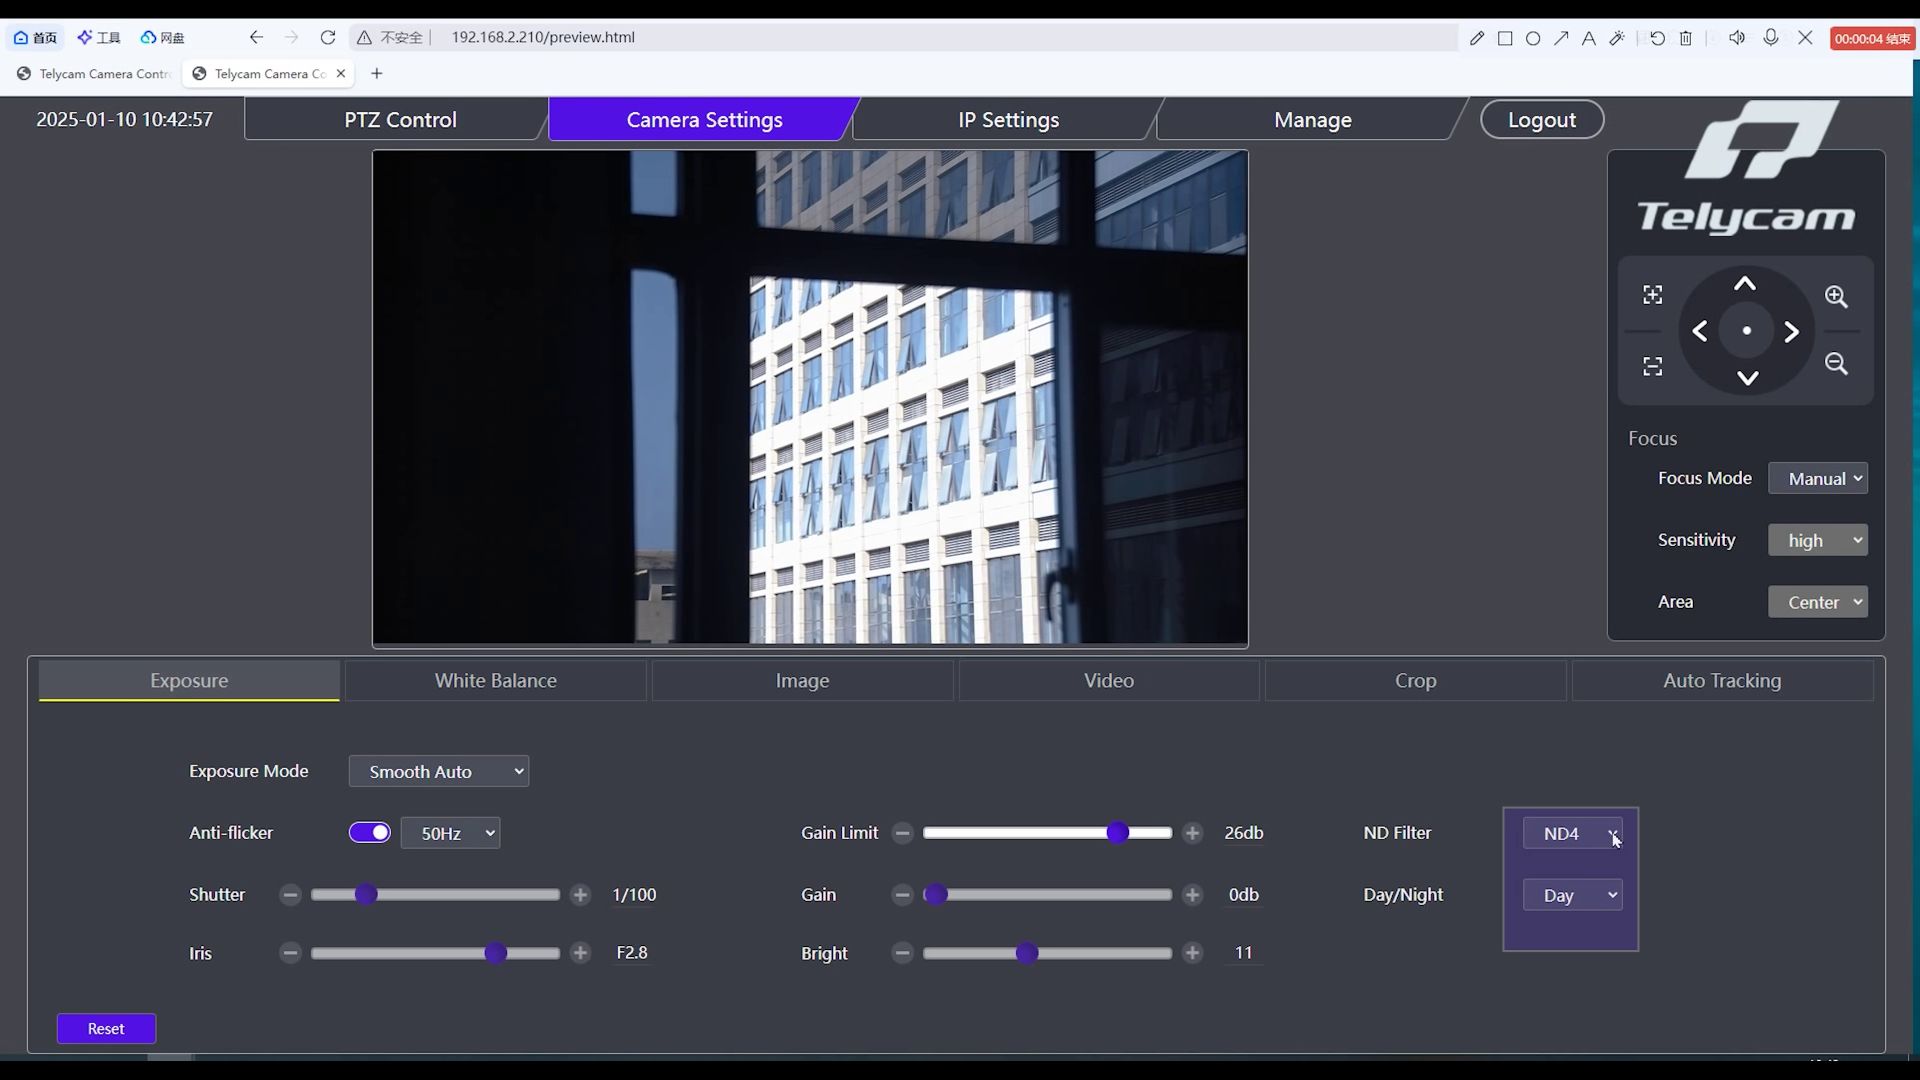
ND 4
2 stops, 25% transmission.
Bright overcast or indoor high-key conditions.
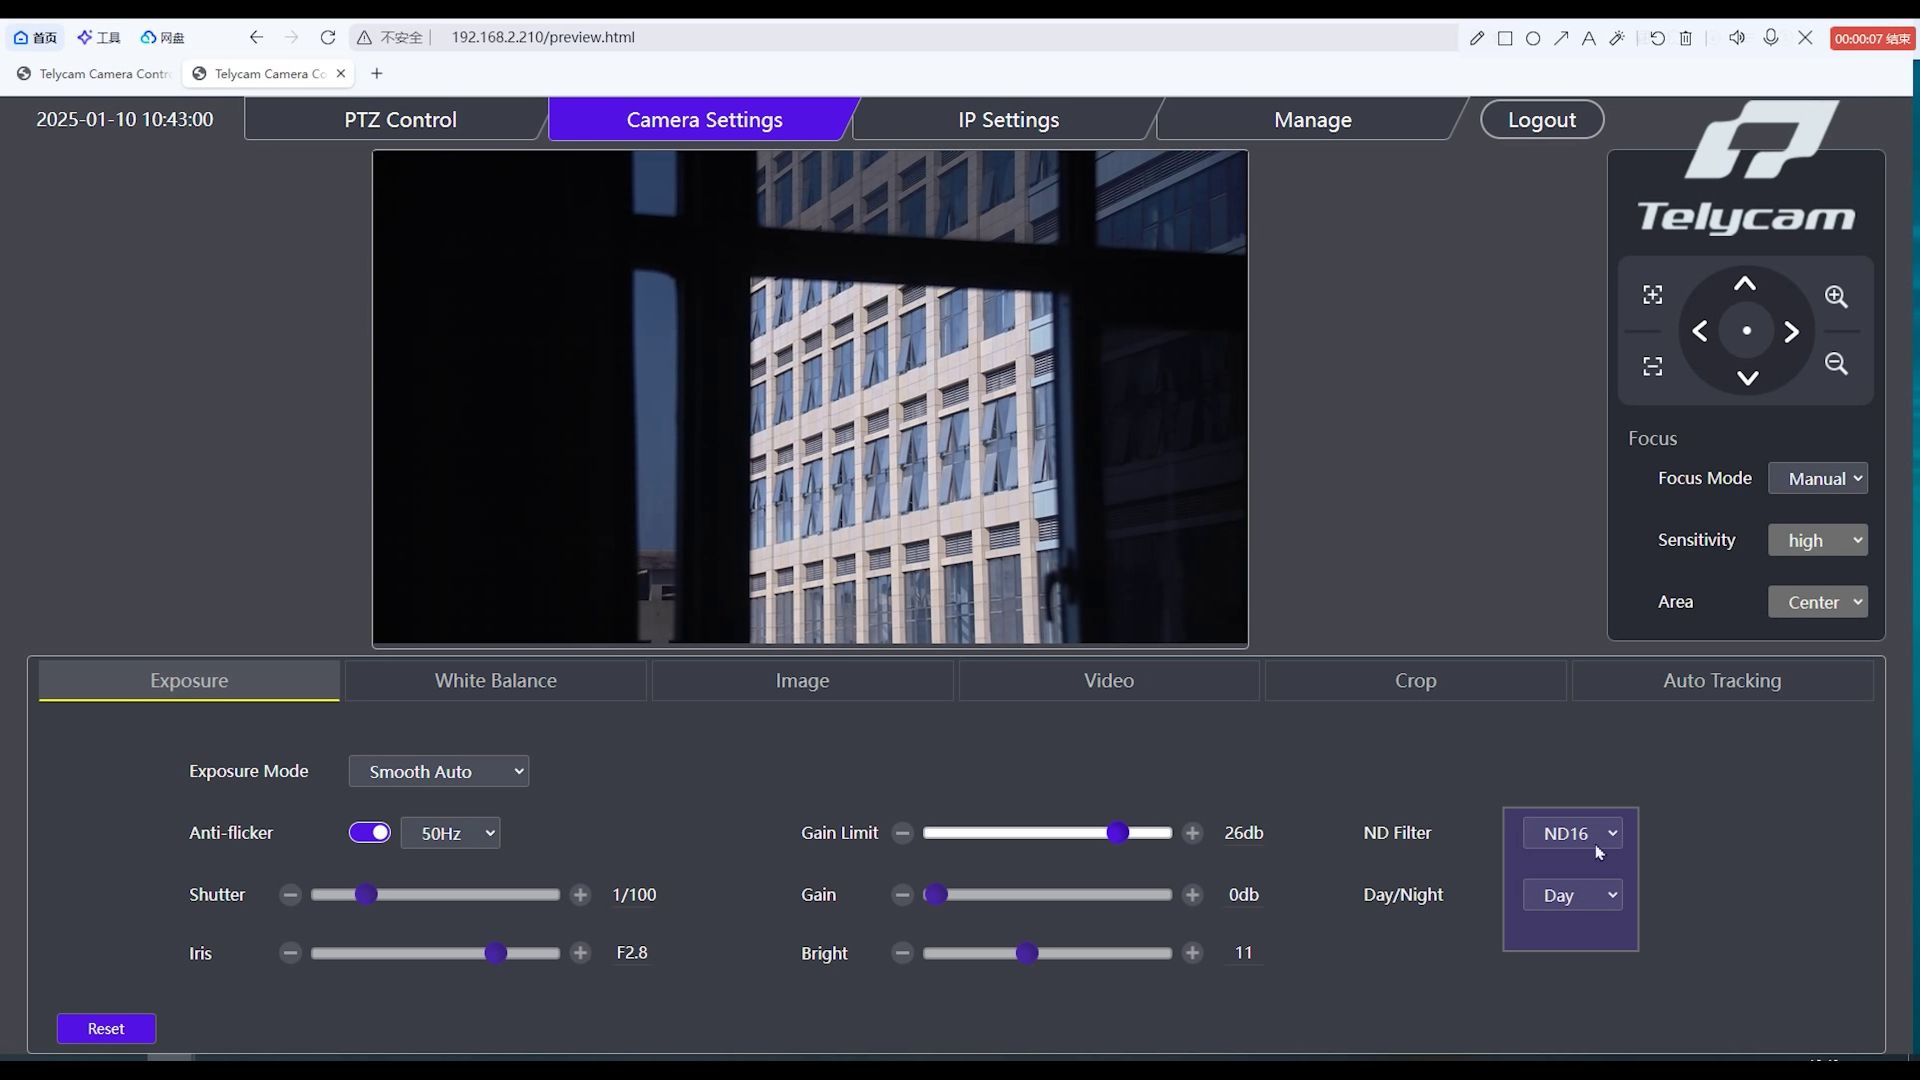
ND 16
4 stops, 6.3% transmission.
Standard outdoor daylight.
ND 64
6 stops, 1.6% transmission.
Direct sunlight or high-reflectance environments such as snow or open water.
External ND Filters
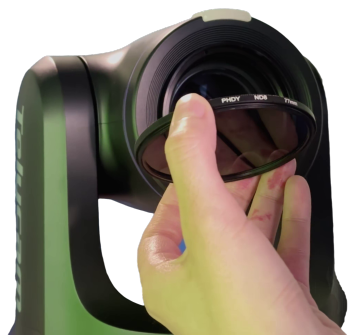
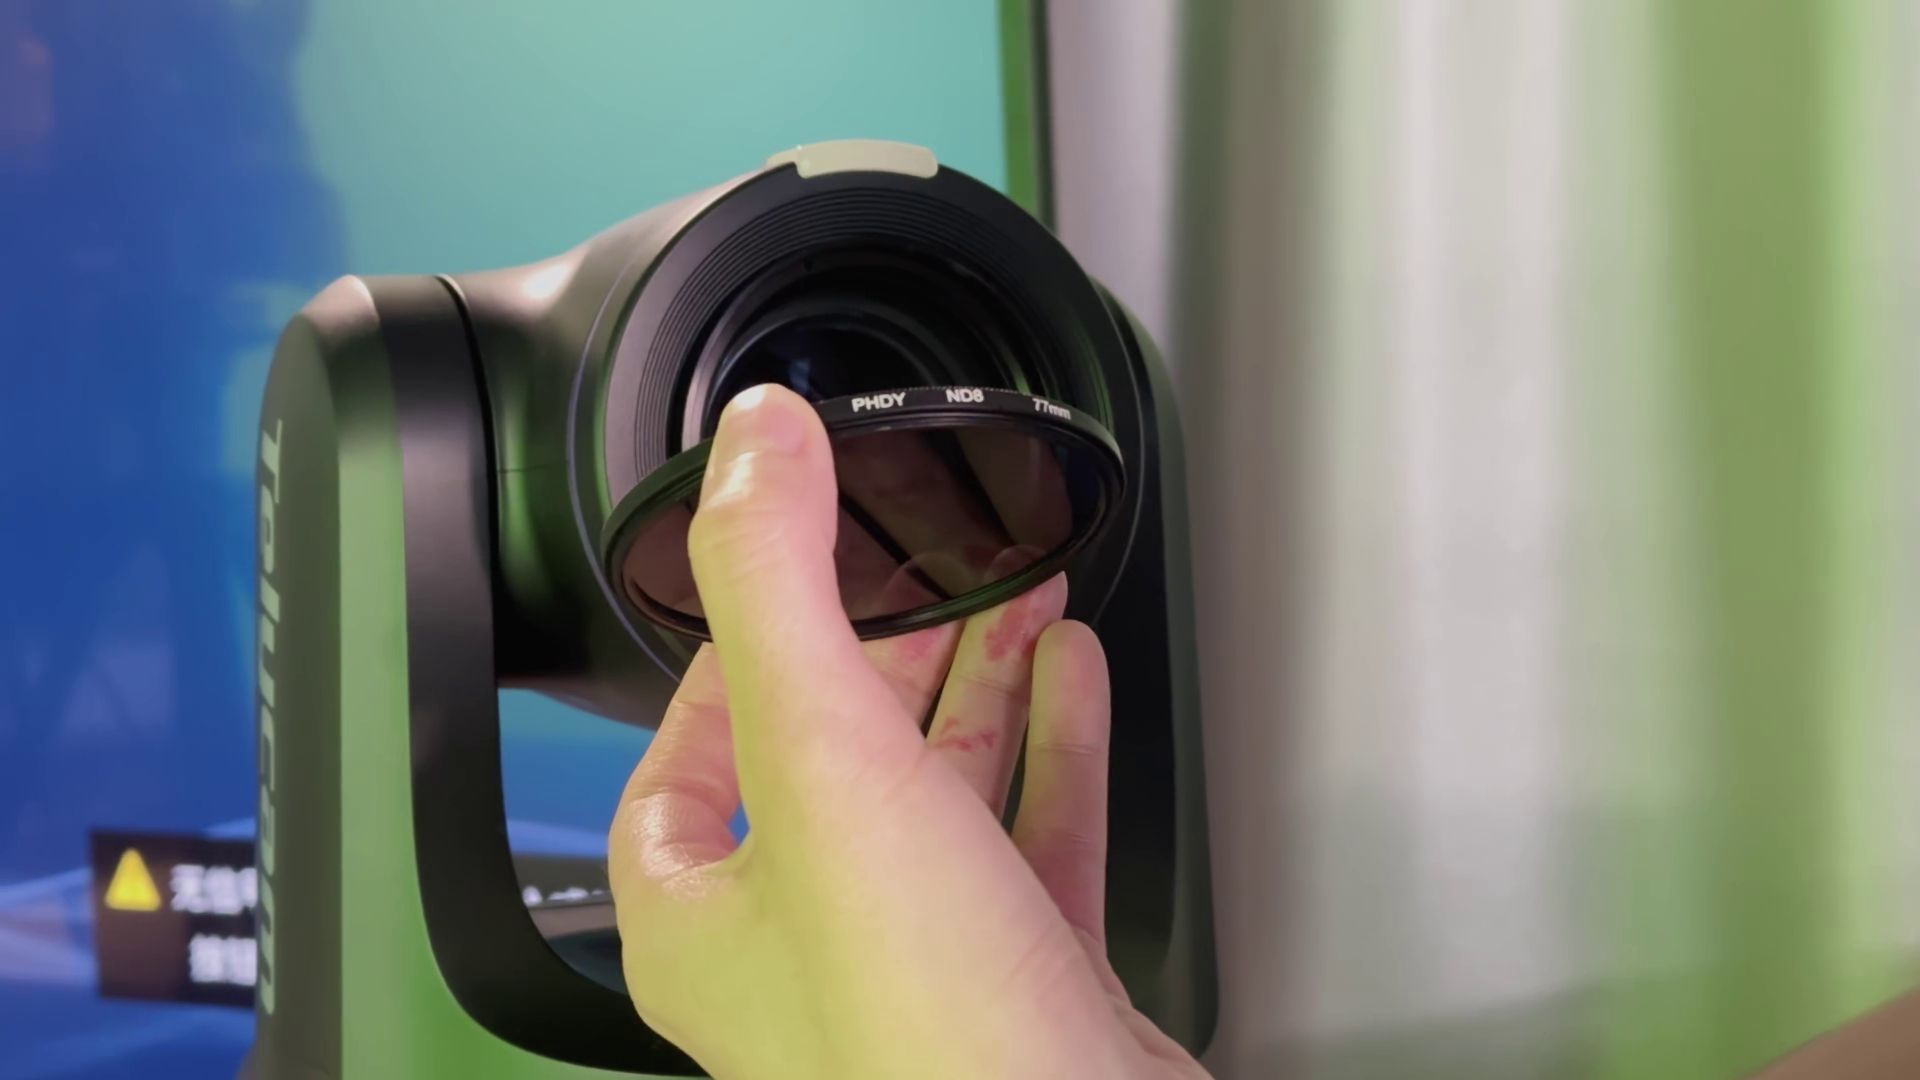
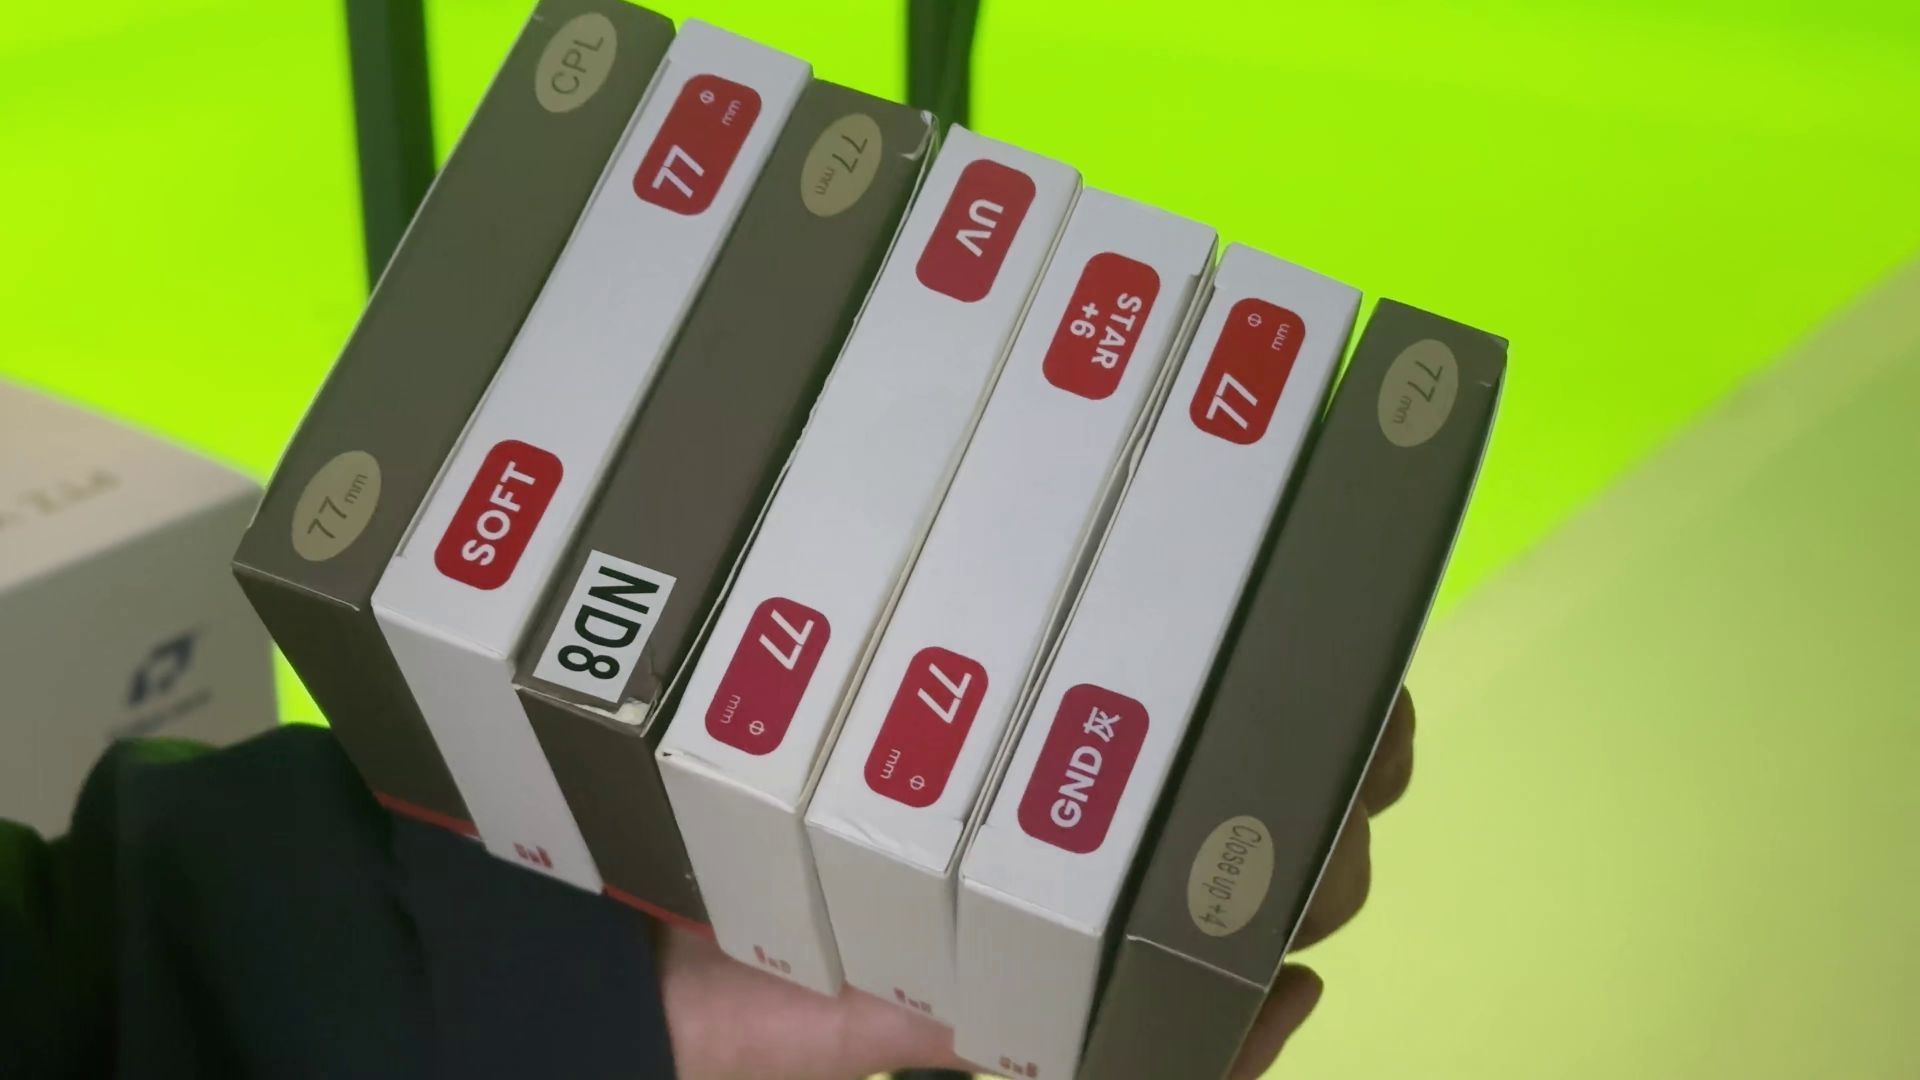
External ND filters screw onto the front of the lens via a thread mount. They come in two forms:
Fixed External ND is set to a single density level and requires no adjustment once installed. For PTZ cameras, this is the most practical external option: choose the right density at setup, attach it, and leave it.
Variable External ND covers a range of densities within one filter, adjusted by rotating the front element. However, pushing it to higher densities risks an X-shaped darkening artifact across the frame — particularly on wide-angle lenses. More critically for PTZ use, changing the density requires physically rotating the filter by hand, which is not practical on a fixed or unmanned installation.
Before purchasing any external filter: confirm your PTZ model has a filter thread. Many compact PTZ housings do not.
Built-in ND
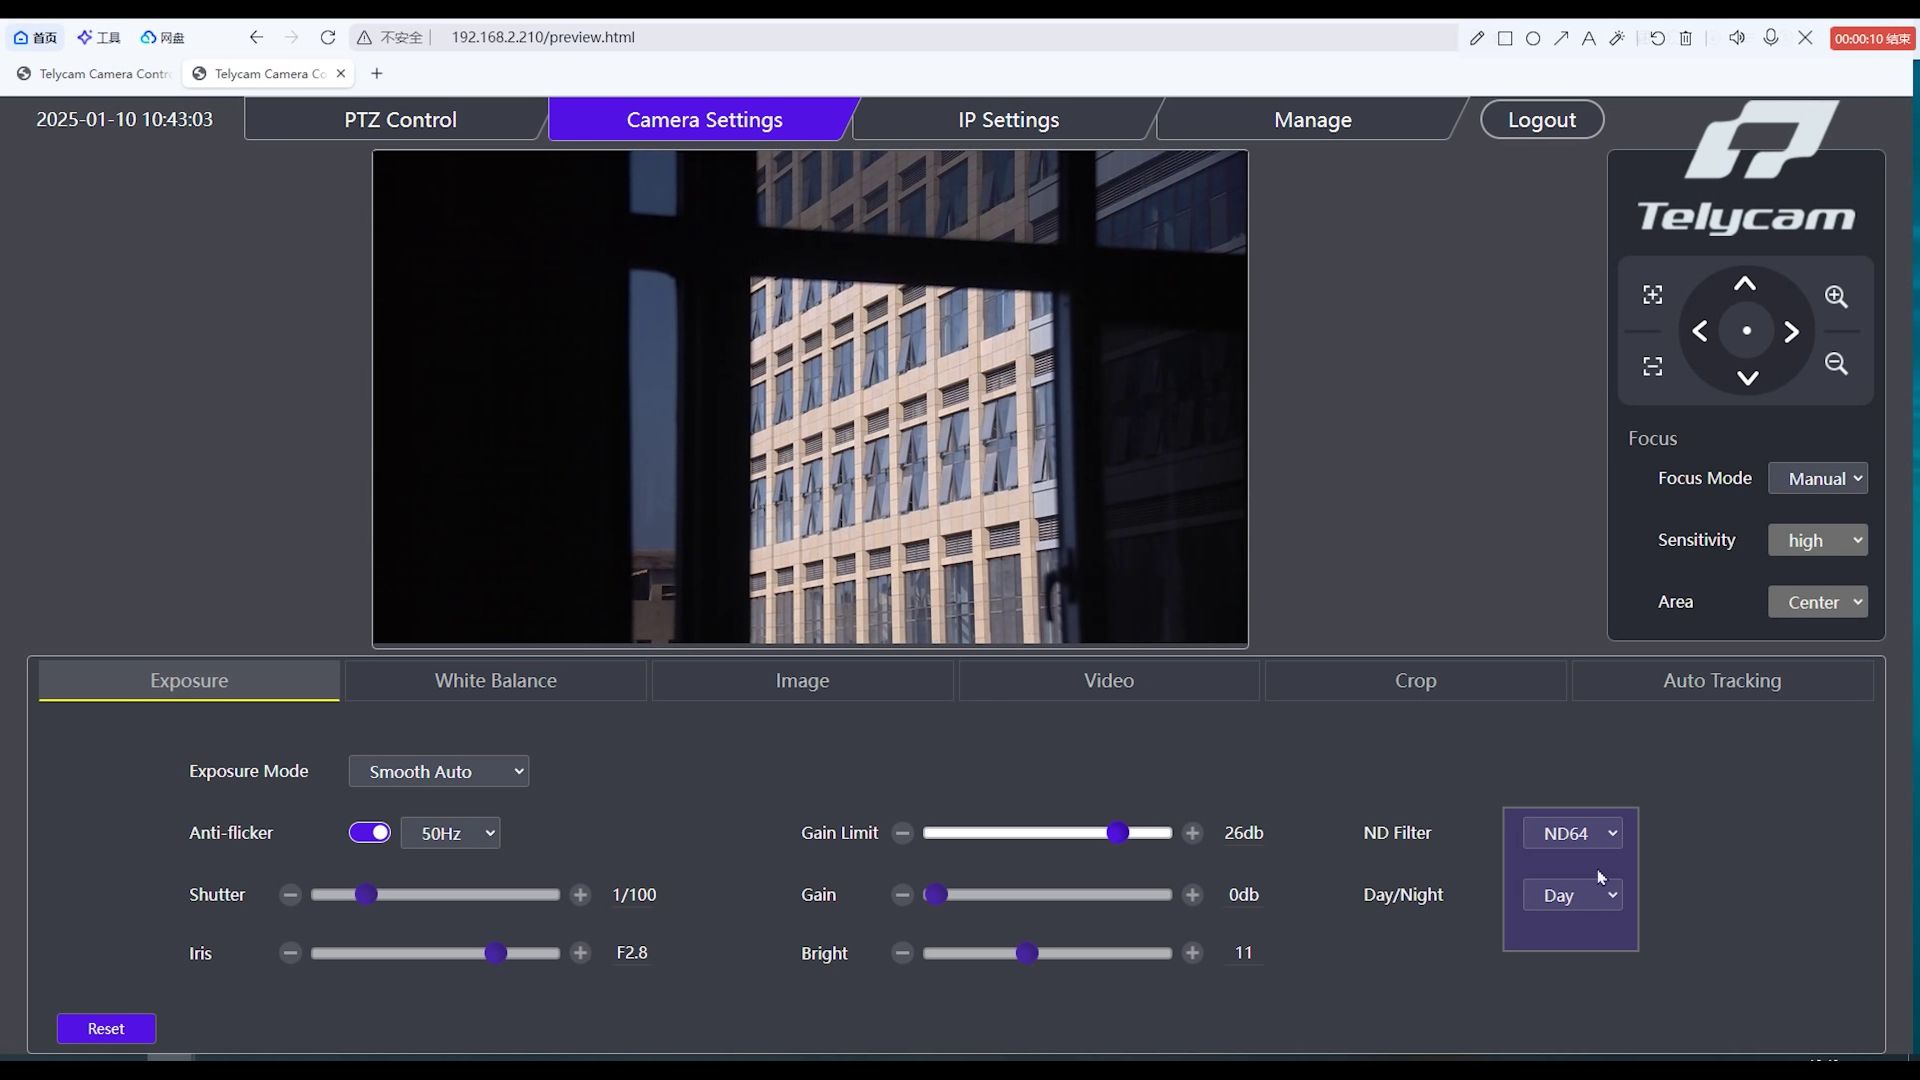
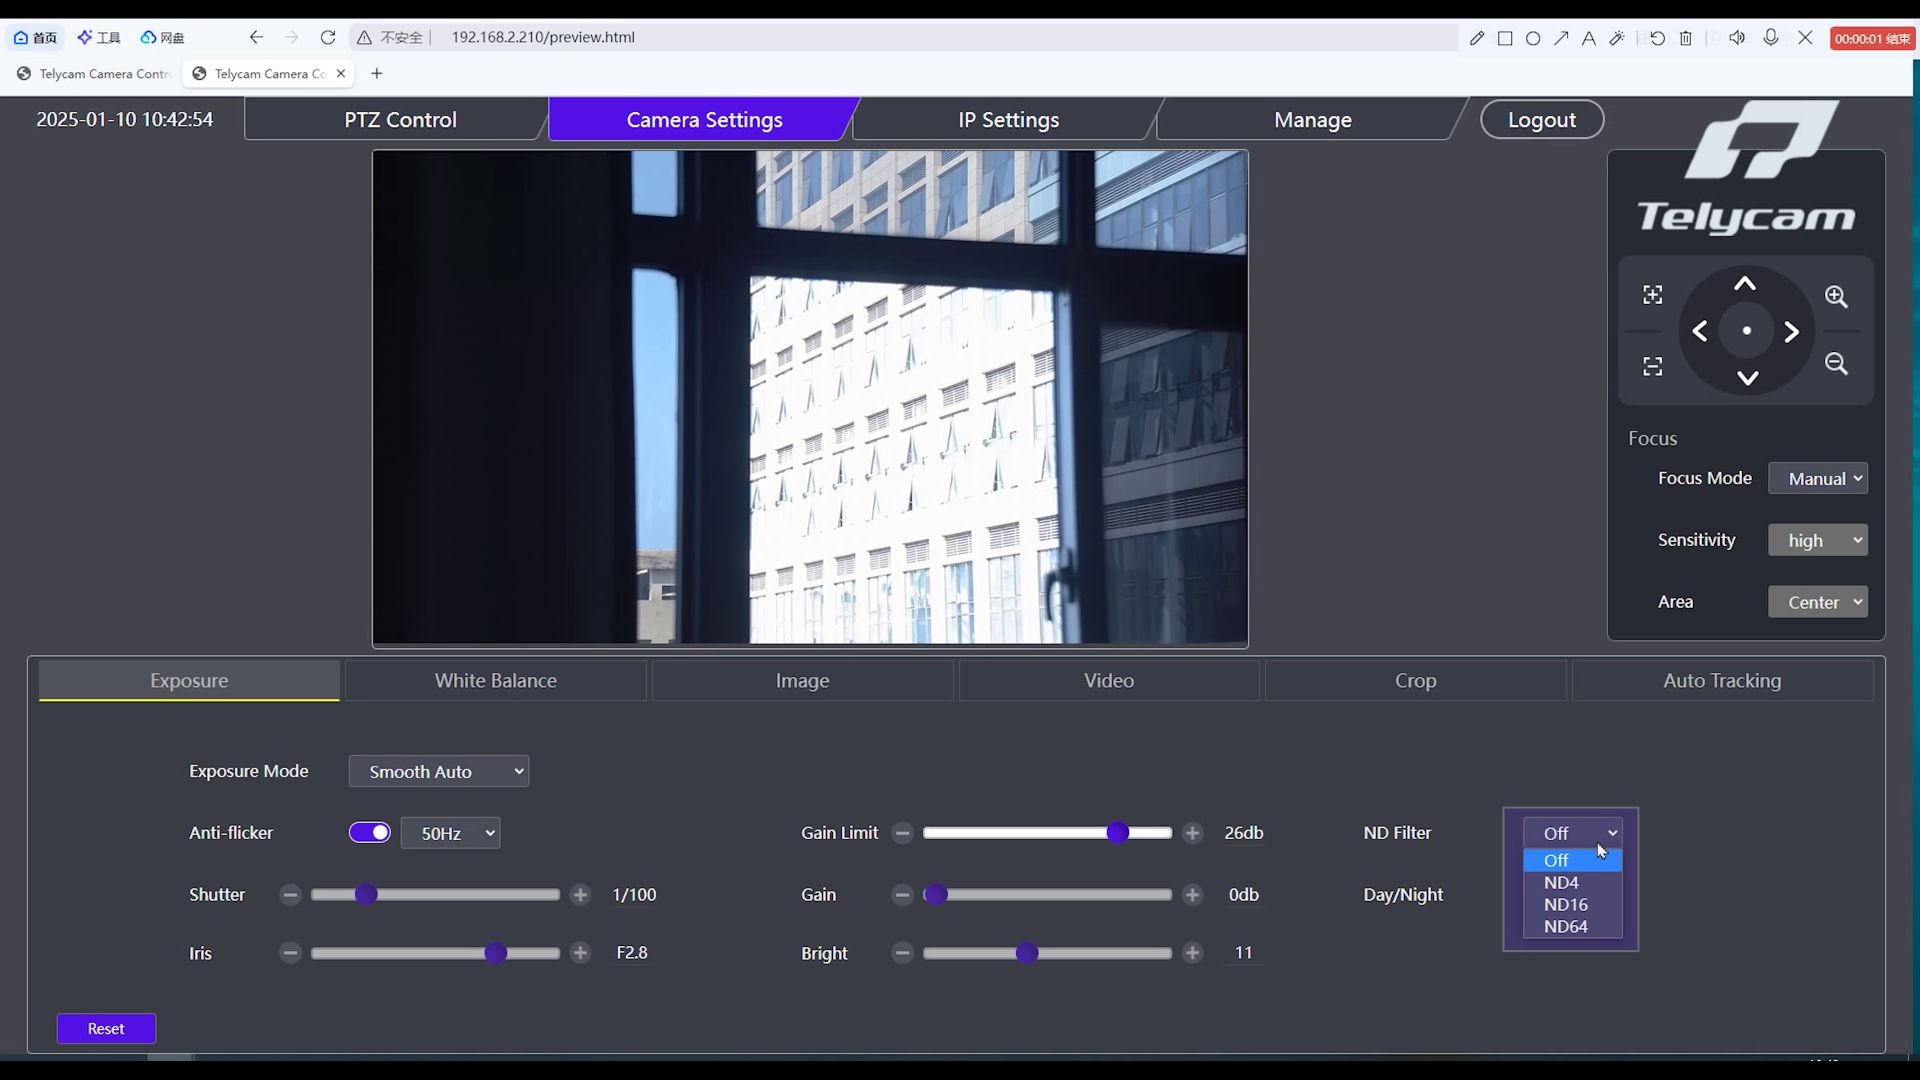
Built-in ND is integrated directly into the camera and controlled via the camera menu or control interface — no physical access to the lens required. Density levels can be switched at any time, even during a live production, without touching the camera.
The limitation is that the available density stops are fixed by the manufacturer and may not cover every shooting scenario.
Using Both Together
How to Use ND Filters on a PTZ Camera
For a practical demonstration of both setups, the video below shows how to switch between built-in ND levels on the Telycam EXPLORE and how to properly attach an external filter to the lens thread.
Best Use Cases for ND Filters
ND filters become most valuable in situations where lighting conditions are either unpredictable or difficult to control. In PTZ workflows, where cameras are often fixed and remotely operated, maintaining consistent exposure across these environments can be challenging without a reliable filtration strategy.
Outdoor live events, sports, and houses of worship
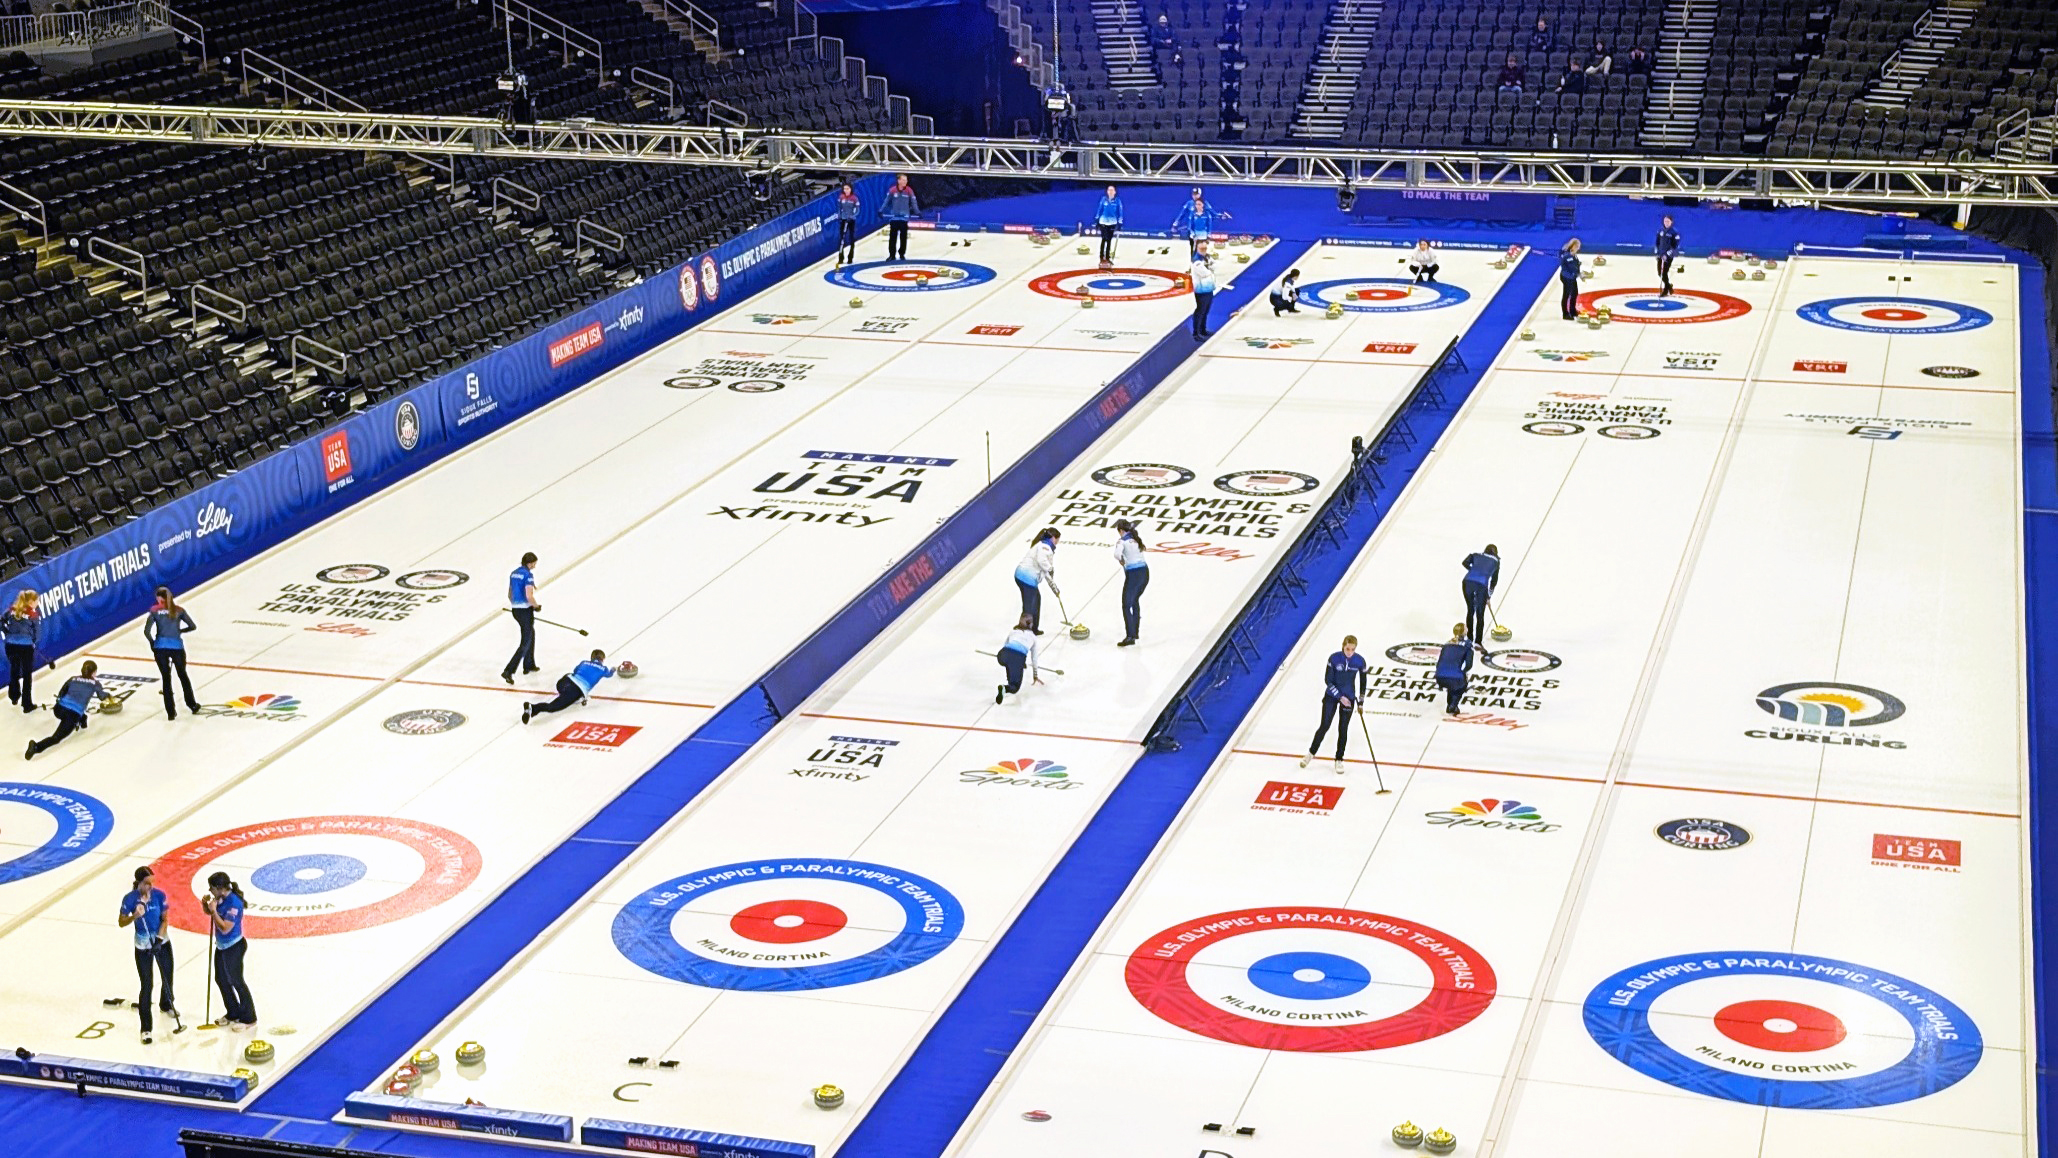
Lighting shifts constantly in outdoor environments — from open shade to direct sunlight within a single shot. ND filters keep exposure stable without adjusting shutter speed or aperture, ensuring consistent footage throughout the event.

Conference and education recording
Mixed lighting from windows and artificial ceiling lights creates high-contrast scenes that are difficult for a PTZ sensor to handle cleanly. A moderate ND filter reduces this contrast, producing more balanced and watchable footage without additional lighting equipment.
Multi-camera productions
In multi-camera setups, even small exposure differences between units are noticeable when cutting between angles. Using consistent ND configurations across all PTZ cameras helps ensure a uniform look throughout the production, reducing the need for correction in post or during live switching.
Broadcast and studio hybrid setups
When PTZ cameras need to cover both controlled interiors and brighter adjacent areas in the same production, the ability to switch ND levels without interrupting the broadcast keeps footage consistent across all camera positions.
Technical FAQ
Take Full Control of Your PTZ Camera Exposure
In PTZ camera workflows, controlling light is less about reacting in the moment and more about setting up a system that can handle change reliably. ND filters are central to that — allowing cameras to maintain consistent exposure without compromising image quality or operational efficiency, regardless of what the environment presents.
The most capable setups combine both built-in and external ND: one for remote convenience, the other for extended range. Getting that configuration right before the camera goes live is what separates footage that holds up under pressure from footage that doesn't.
The Telycam Explore is built around exactly this workflow — with a built-in variable ND for remote control and a lens thread that accepts external filters when conditions demand more.